
Migrating your WordPress site to new hosting can feel like a daunting task. You’ve invested time and effort into building a beautiful and functional website, and the thought of moving it, with all its data, themes, plugins, and settings, can fill you with anxiety. What if something goes wrong? What if you lose content? What if your site is down for an extended period? These are all valid concerns, but with careful planning and execution, you can migrate your WordPress site safely and smoothly to your new hosting environment. This guide will walk you through the entire process, from preparation to post-migration checks, ensuring you have the confidence to tackle this undertaking.
Before you even think about touching your current hosting or setting up your new one, significant preparation is crucial. This phase is all about understanding your current site, gathering necessary information, and making informed decisions about your new hosting. Skipping these steps is like trying to build a house without a blueprint – it’s a recipe for disaster and unnecessary stress.
Understanding Your Current WordPress Site
You need to have a clear picture of what you’re moving. This isn’t just about the number of pages or posts.
Inventorying Your Content and Media
- Page and Post Count: Get a general idea of how much content you have. While not a direct migration factor, it can give you a sense of the data volume.
- Media Library Size: Your images, videos, and other uploaded files can occupy a significant amount of space. Check your current hosting’s file manager or use a plugin to get an estimate of your media library size. This will inform your storage needs on the new host.
- Database Size: Your WordPress database stores all your content, settings, user data, and more. It’s a critical component. You can find its approximate size through your current hosting’s control panel (like cPanel or Plesk) under “phpMyAdmin” or a similar database management tool. A larger database might mean a longer migration time.
Identifying Installed Themes and Plugins
- Active vs. Inactive: List all your currently active themes and plugins. Pay close attention to any custom-coded themes or plugins, as these require special attention.
- Plugin Functionality: Understand what each plugin does. This helps you ensure you’re replicating essential functionality on the new host and avoid unnecessary bloat. Are there any plugins you no longer need? Now is the time to uninstall them to streamline the migration.
- Premium Licenses: Do any of your themes or plugins require active licenses for updates or support? Make a note of these and ensure you have your license keys readily available for re-activation on the new host.
Assessing Your Site’s Performance and Requirements
- Current Traffic Levels: How much traffic does your site receive? This will influence the type of hosting plan you need. A shared hosting plan might suffice for a low-traffic blog, but a high-traffic e-commerce site will require more robust resources.
- Resource Usage: If your current host provides analytics on CPU, RAM, and bandwidth usage, review them. This data will help you choose a new hosting plan that can comfortably handle your site’s demands, preventing performance issues after the move.
- PHP Version: WordPress requires a specific PHP version. Check the recommended PHP version for the latest WordPress releases and ensure your new hosting environment supports it. You can usually find this information on your current host’s control panel or by searching the WordPress.org documentation.
Choosing Your New Hosting Provider
This is arguably the most critical decision you’ll make. A good host can make your site faster and more secure, while a bad one can lead to constant headaches.
Researching and Comparing Hosting Options
- Types of Hosting: Understand the differences between shared hosting, VPS hosting, dedicated hosting, and managed WordPress hosting. Each offers varying levels of control, performance, and cost. Managed WordPress hosting often includes specialized features for WordPress sites, such as enhanced security, automatic backups, and expert support.
- Key Features to Look For:
- Uptime Guarantee: Look for a host with a high uptime guarantee (99.9% or higher).
- Speed and Performance: Read reviews and look for hosts that emphasize SSD storage, Nginx or LiteSpeed web servers, and Content Delivery Network (CDN) integration.
- Security Features: Essential features include SSL certificates, firewalls, malware scanning, and regular security updates.
- Backup Solutions: Ensure they offer reliable and easy-to-restore automated backups.
- Customer Support: Check their support channels (live chat, phone, ticketing) and availability (24/7 is ideal). Read reviews about their support quality.
- Scalability: Can you easily upgrade your plan as your site grows?
- Pricing and Renewal Costs: Be aware of introductory pricing versus renewal rates, which can often be significantly higher.
- Reading Reviews: Don’t just rely on the provider’s marketing. Seek out independent reviews from reputable tech sites and user forums. Look for patterns in positive and negative feedback.
Understanding Your New Host’s Features and Control Panel
Once you’ve narrowed down your choices, familiarize yourself with the features and management interface of your potential new hosts.
- Control Panel Interface (cPanel, Plesk, etc.): Most hosts use a standardized control panel. Spend some time looking at screenshots or demos if available to understand how you’ll manage your files, databases, email, and other settings.
- One-Click WordPress Installation: Many hosts offer easy one-click WordPress installers, which can be helpful for setting up a fresh installation.
- Staging Environments: Some managed WordPress hosts offer staging environments, which allow you to test changes and updates in a safe, isolated space before deploying them to your live site. This is a fantastic feature for minimizing risk during and after migration.
- SSL Certificate Provisioning: How easy is it to get an SSL certificate installed on your new hosting? Free Let’s Encrypt certificates are common and highly recommended.
Backing Up Your Existing WordPress Site
This is non-negotiable. A comprehensive backup is your safety net. If anything goes awry during the migration, a solid backup will allow you to restore your site to its previous state.
Full Website Backup (Files and Database)
- Using a WordPress Backup Plugin: Plugins like UpdraftPlus, BackupBuddy, or VaultPress (part of Jetpack) are excellent choices. They offer scheduled backups, cloud storage options (Google Drive, Dropbox, Amazon S3), and easy restoration.
- Download and Verify: After running a backup, download the backup files to your local computer. It’s crucial to verify that the backup files are intact and can be accessed. Don’t assume it’s done until you’ve confirmed it.
- Manual Backup via Hosting Control Panel:
- File Manager: Access your site’s files via your hosting control panel’s File Manager. Download your entire WordPress directory (typically
public_htmlorwww). This includes all your themes, plugins, uploads, and core WordPress files. - phpMyAdmin: Navigate to phpMyAdmin or your host’s equivalent database tool. Select your WordPress database, then click the “Export” tab. Choose the “Quick” export method, and select “SQL” as the format. Download the
.sqlfile.
Storing Your Backups Securely
- Multiple Locations: Never rely on a single backup location. Store copies on your local computer, an external hard drive, and a cloud storage service.
- Off-Site Storage: Ensure at least one backup copy is stored off-site (e.g., in the cloud) in case of local disaster.
When considering the migration of your WordPress site to a new hosting provider, it’s essential to ensure that your data remains secure throughout the process. For additional insights on safeguarding your website, you may find the article on shared hosting plans particularly useful. It provides a comprehensive 2025 security checklist that can help you assess whether your current hosting environment is adequately protecting your data.
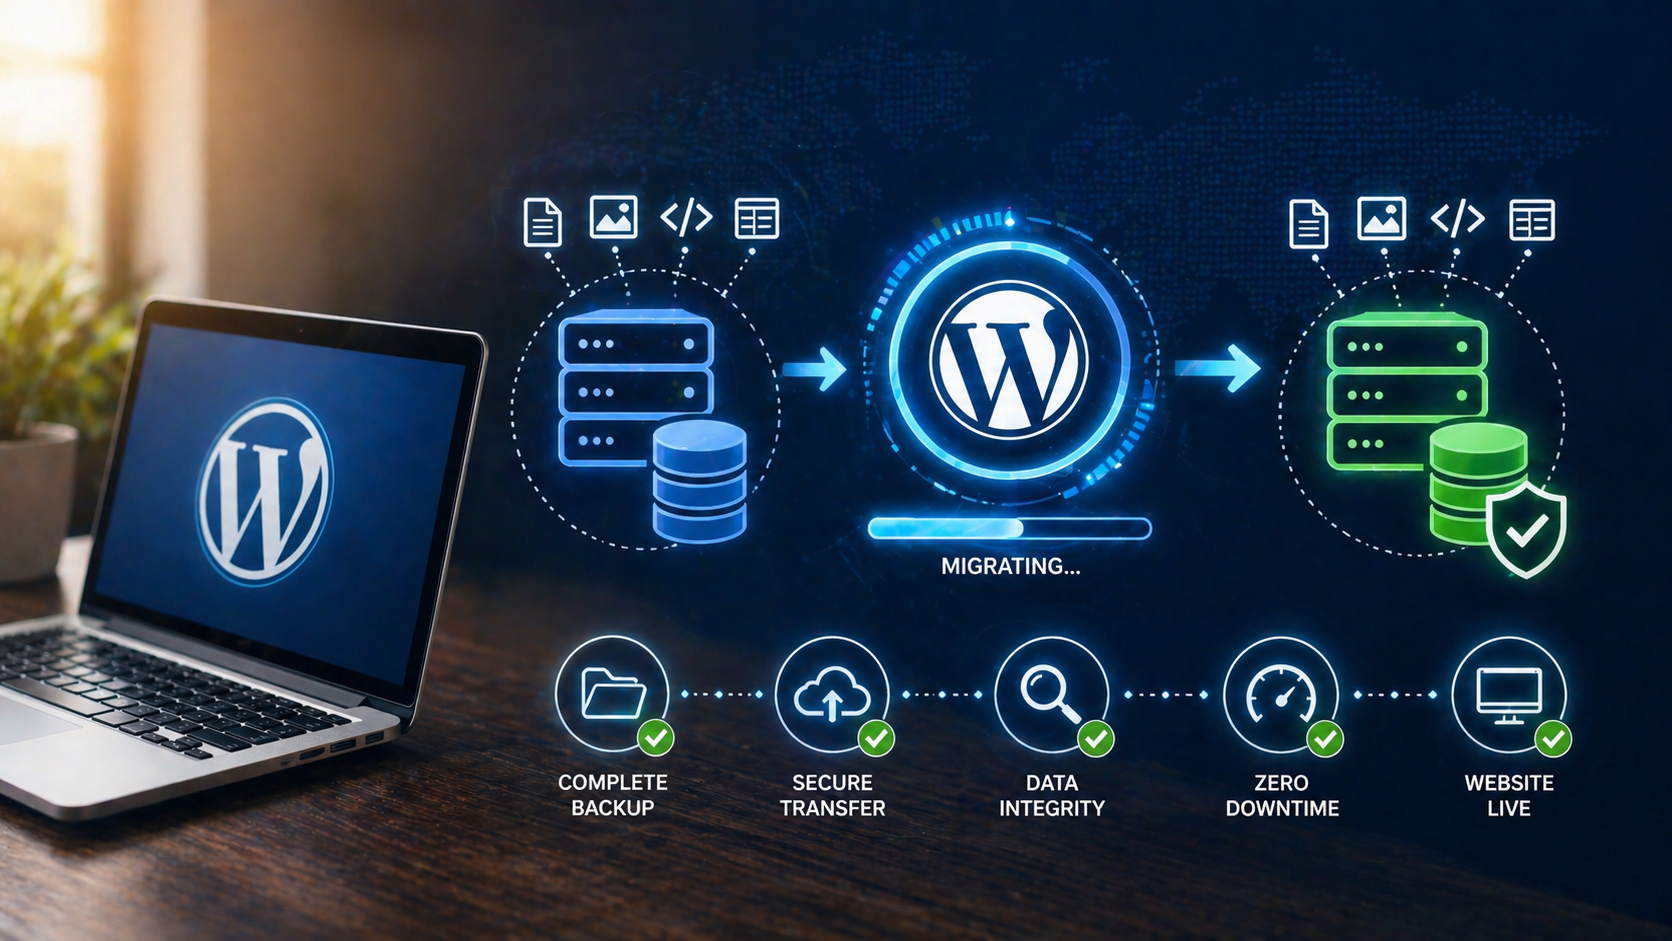
The Migration Process: Moving Your Site with Confidence
With your preparation complete and your backups in hand, you’re ready to begin the actual migration. This section will cover two primary methods: using a plugin and performing a manual migration.
Method 1: Using a WordPress Migration Plugin
Migration plugins are designed to simplify the process, automating many of the manual steps involved. They are generally the easiest and fastest method for most users.
Choosing the Right Migration Plugin
- Popular and Highly-Rated Options: All-in-One WP Migration, Duplicator, and Migrate Guru are frequently recommended.
- All-in-One WP Migration: Known for its simplicity and user-friendly interface. It packages your entire site (database, media, plugins, themes) into a single file.
- Duplicator: A powerful plugin that creates package files (.zip) and an installer script (.php). It offers more control and flexibility.
- Migrate Guru: Specifically designed for larger sites and offers free migration services to their own servers, which can then be transferred to your new host.
Step-by-Step Migration with a Plugin (Example using All-in-One WP Migration)
- Install and Activate the Plugin: Install your chosen plugin on your current WordPress site.
- Export Your Site:
- Navigate to the plugin’s settings (e.g., “All-in-One WP Migration” > “Export”).
- Click “Export From.”
- Choose “File” to download the export file to your computer. The plugin will package your entire site.
- Prepare Your New Hosting Environment:
- Install WordPress: On your new hosting account, use your host’s one-click installer to set up a fresh installation of WordPress. This will create the necessary database and core files. Do not import any content yet.
- Install the Same Migration Plugin: On this new WordPress installation, install and activate the same migration plugin you used for the export.
- Import Your Site to the New Host:
- Go to the plugin’s import section on your new site (e.g., “All-in-One WP Migration” > “Import”).
- Click “Import To” > “File.”
- Drag and drop the exported file or select it from your computer. The plugin will upload and unpack your entire site.
- Post-Import Steps:
- Permalinks: After the import is complete, log out of your new WordPress site. Go to your WordPress admin dashboard (which might be on your new host now) and resave your permalinks. Go to Settings > Permalinks and simply click “Save Changes” without making any modifications. This refreshes your URL structure.
- Update Site URL (if necessary): In some cases, the plugin might not correctly update the site URL in the database. You may need to manually update this in your WordPress database using phpMyAdmin on your new host, or by using a plugin like Better Search Replace.
Method 2: Manual Migration (File Transfer and Database Import)
This method offers more control but requires a greater understanding of server management. It’s a good option if plugins fail or if you have very specific needs.
Transferring Your WordPress Files
- Connect via FTP/SFTP: Use an FTP client like FileZilla or Cyberduck.
- Host: Your new host’s FTP server address.
- Username: Your FTP username.
- Password: Your FTP password.
- Port: Usually 21 for FTP and 22 for SFTP (SFTP is more secure).
- Upload Files: Navigate to the root directory of your new website on the server (often
public_htmlorwww). Upload all the WordPress files you downloaded during your manual backup. - Be Patient: This can take a significant amount of time depending on the size of your site and your internet connection.
Importing Your Database
- Create a New Database: On your new hosting account, use your control panel (cPanel, Plesk, etc.) to create a new database, a new database user, and assign that user full privileges to the database. Note down the database name, username, and password.
- Import the SQL File:
- Access phpMyAdmin for your new database.
- Select your newly created database.
- Click the “Import” tab.
- Click “Choose File” and select the
.sqlfile you exported from your old site. - Click “Go” to start the import.
Updating wp-config.php
This is a crucial step for manual migration. You need to tell WordPress how to connect to its new database.
- Locate
wp-config.php: On your new hosting’s server, find thewp-config.phpfile in the root directory of your WordPress installation. - Edit the File: Use a text editor or your FTP client’s “Edit” function.
- Update Database Credentials: Find these lines and update them with your new database credentials:
“`php
define( ‘DB_NAME’, ‘your_new_database_name’ );
define( ‘DB_USER’, ‘your_new_database_username’ );
define( ‘DB_PASSWORD’, ‘your_new_database_password’ );
define( ‘DB_HOST’, ‘your_new_database_host’ ); // Often ‘localhost’
“`
- Save and Upload: Save the changes to
wp-config.phpand upload it back to your server, replacing the existing file.
Finalizing the Manual Migration
- Resave Permalinks: As with the plugin method, log into your WordPress admin area on the new host and go to Settings > Permalinks. Click “Save Changes.”
- Verify Database Table Prefixes: Ensure your
wp-config.phpfile’stable_prefixmatches the prefix of your imported database tables. If they don’t match, you’ll need to adjust thewp-config.phpfile or the database itself.
Post-Migration Checks: Ensuring Everything Works Perfectly
Once the migration is technically complete, you’re not done yet. This phase is about meticulous testing to ensure your site is functioning as expected and all your content is accessible and correct.
Verifying Site Functionality
This is where you put your site through its paces.
Testing All Pages and Posts
- Browse Your Site: Navigate through your website as a typical visitor would. Click on every link, page, and post.
- Content Integrity: Check for any missing or corrupted content, images, or formatting issues.
- Broken Links: Use a broken link checker tool (either online or a WordPress plugin) to identify and fix any broken internal or external links.
Checking Theme and Plugin Functionality
- Theme Appearance: Does your theme look as it should? Are there any layout problems?
- Plugin Features: Test all essential plugin functionalities. For example, if you have an e-commerce store, test the checkout process. If you have a contact form, submit a test message. If you have an SEO plugin, check its settings.
- User Accounts: If your site has user accounts, try logging in with existing user credentials to ensure they are still valid.
Verifying Form Submissions and E-commerce Functionality
- Contact Forms: Submit test entries through all your contact forms to ensure emails are being received at the correct addresses.
- E-commerce:
- Product Listings: Check that all products are displaying correctly with descriptions, prices, and images.
- Add to Cart: Test adding products to the cart.
- Checkout Process: Crucially, perform a test transaction (if possible with a small test order or a refund-eligible item) to ensure the payment gateway is working correctly and order confirmations are sent.
- Order Management: Check if orders are appearing in your new WordPress admin dashboard.
Updating DNS Records
This is the final step that directs your domain name to your new hosting server.
Understanding DNS Propagation
- What are DNS Records? Domain Name System (DNS) records translate human-readable domain names (like
yourwebsite.com) into IP addresses that computers understand. - Propagation Time: When you update your DNS records, it takes time for these changes to propagate across the internet. This can take anywhere from a few minutes to 48 hours, though it’s usually much faster.
- How to Update: You’ll typically do this through your domain registrar’s control panel (where you purchased your domain name, which might be different from your hosting provider). You’ll need to find the nameserver records provided by your new hosting company and update them.
Pointing Your Domain to the New Host
- Obtain Nameservers: Your new hosting provider will give you specific nameserver addresses (e.g.,
ns1.newhost.com,ns2.newhost.com). - Log into Your Domain Registrar: Go to the website where you registered your domain name.
- Find DNS Management/Nameserver Settings: Locate the section for managing your domain’s DNS records or nameservers.
- Update Nameservers: Enter the nameserver addresses provided by your new host. Remove any old nameservers.
- Save Changes: Confirm the changes.
Checking DNS Propagation Status
- Online Tools: Use websites like
whatsmydns.netto check the propagation status of your domain’s nameservers globally. You’ll see where it’s showing your new host’s information and where it’s still pointing to the old one. - Clear Browser Cache: Once propagation seems to be happening, clear your browser’s cache and cookies to ensure you’re seeing the most up-to-date version of your website.
Securing Your Migrated WordPress Site
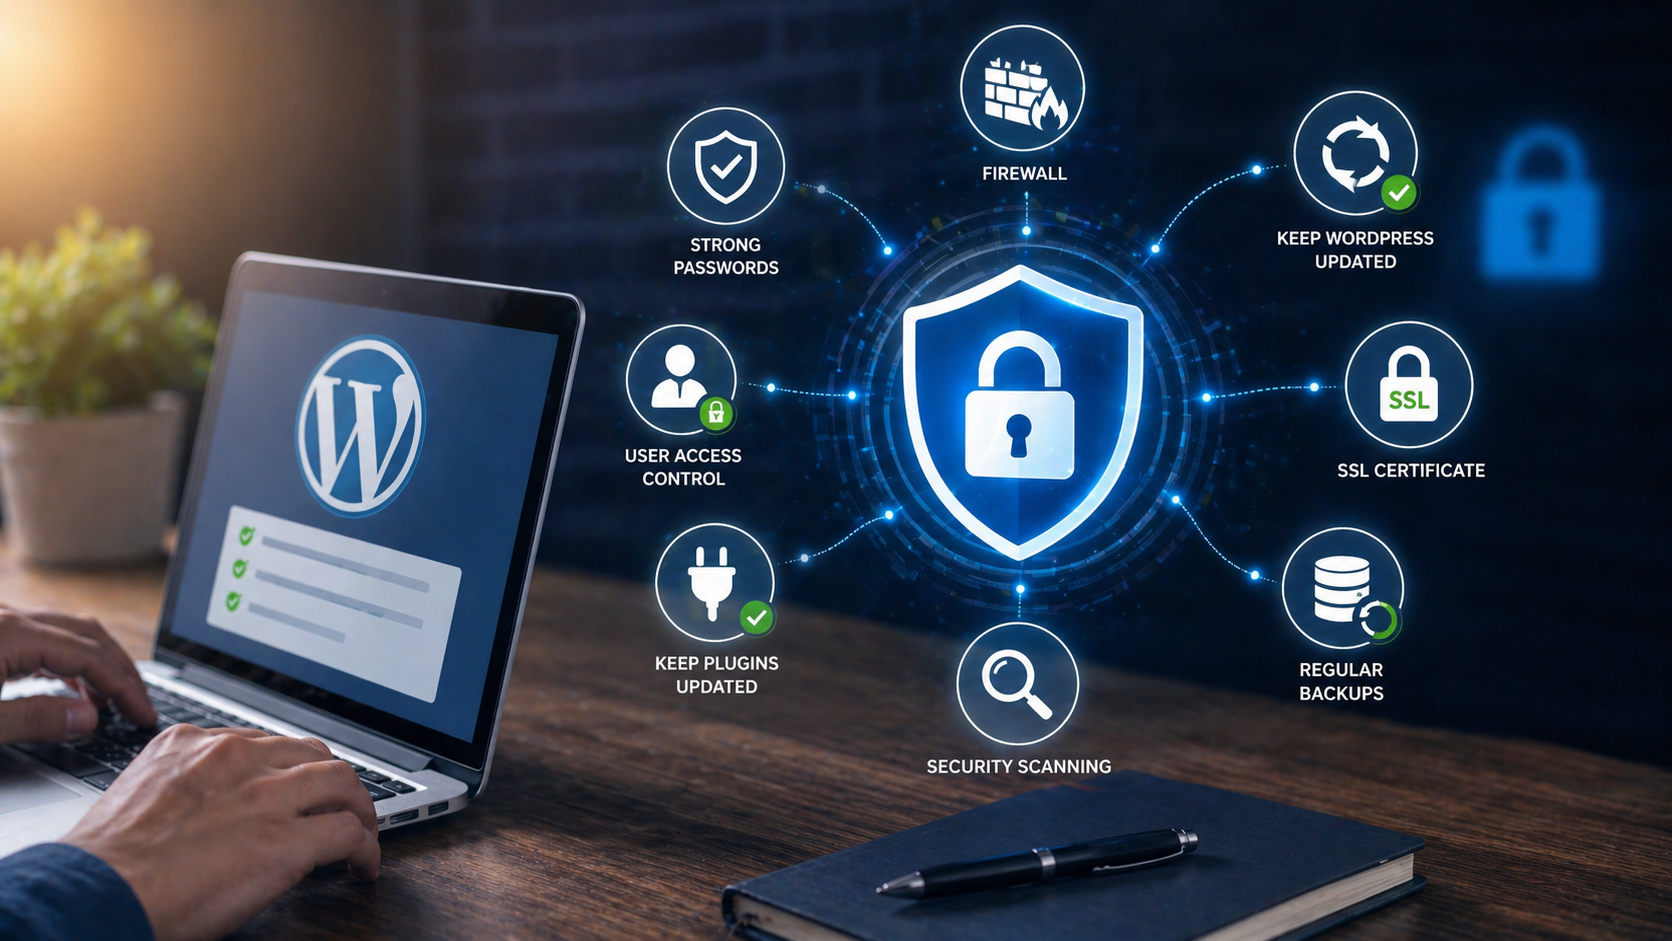
Migration isn’t just about moving files; it’s also about ensuring your new environment is secure.
Implementing Essential Security Measures
Your new host may offer some security features, but it’s good to have a layered approach.
Installing a Security Plugin
- Recommended Plugins: Wordfence Security, Sucuri Security, or iThemes Security are excellent choices.
- Key Features: These plugins offer firewall protection, malware scanning, brute force attack prevention, login hardening, and more.
- Configuration: After installing, configure the plugin according to its recommendations. Pay attention to brute force protection and malware scanning settings.
Enforcing Strong Passwords and User Roles
- Admin Accounts: Ensure your WordPress admin accounts have strong, unique passwords. Use a password manager if you don’t already.
- User Roles: Review your user roles and permissions. Grant the least privilege necessary for each user. Remove any old or unused user accounts.
- Two-Factor Authentication (2FA): Consider enabling 2FA for your WordPress login. Many security plugins and dedicated 2FA plugins offer this functionality.
Keeping WordPress, Themes, and Plugins Updated
- Regular Updates: This is a fundamental security practice. WordPress, themes, and plugins are constantly updated to patch vulnerabilities.
- Automatic Updates: Configure your site to receive automatic updates for minor WordPress releases and, if you’re confident, for plugins and themes. However, always back up before major updates.
- Check for Updates Regularly: Make it a habit to check for available updates in your WordPress dashboard at least weekly.
Performing a Final Backup on the New Host
Once you’ve confirmed everything is working perfectly, it’s wise to take another complete backup of your site on its new home.
Full Backup of Files and Database on New Hosting
- Utilize Hosting Tools: Many hosting providers offer integrated backup tools within their control panel. Use these to create a full backup of your site.
- Backup Plugin: If you prefer, you can use your favorite backup plugin on the new installation to create and store another backup, ideally to a cloud service.
- Verify the Backup: As always, ensure this new backup is complete and accessible.
Storing the Backup Securely
- Cloud Storage: Store this latest backup in your preferred cloud storage solution.
- Download a Copy: Consider downloading a copy to your local machine for extra peace of mind.
When considering the process of migrating your WordPress site to new hosting, it’s essential to be aware of common pitfalls that can arise during the transition. For instance, many beginners encounter challenges that can be avoided with proper planning and knowledge. To help you navigate these potential issues, you might find it beneficial to read about the common blogging mistakes and how to overcome them. This resource can provide valuable insights that complement your migration efforts and ensure a smoother experience.
Troubleshooting Common Migration Issues
<?xml encoding=”UTF-8″>
| Step | Description |
|---|---|
| 1 | Backup your WordPress site files and database |
| 2 | Choose a new hosting provider and set up a new account |
| 3 | Upload your WordPress files to the new hosting server |
| 4 | Import your database to the new hosting server |
| 5 | Update your domain’s DNS settings to point to the new hosting server |
| 6 | Test your website on the new hosting server to ensure everything is working properly |
| 7 | Update any hardcoded links or file paths in your WordPress site |
Even with the best planning, you might encounter a few hiccups. Knowing how to address them will save you time and frustration.
Dealing with Common Errors and Problems
- The White Screen of Death (WSOD): This is often caused by plugin or theme conflicts or corrupted core files.
- Troubleshooting: Deactivate all plugins by renaming the
pluginsfolder inwp-contentvia FTP. If the site returns, reactivate plugins one by one to find the culprit. If that doesn’t work, try activating a default WordPress theme. - Database Connection Errors:
- Troubleshooting: Double-check your
wp-config.phpfile for correct database name, username, password, and host. Ensure your database user has the necessary privileges. - Internal Server Error (500 Error): This is a generic error that can be caused by many things, including corrupted
.htaccessfiles, PHP memory limits, or plugin/theme issues. - Troubleshooting: Check your server’s error logs (usually accessible via your hosting control panel). Try regenerating your
.htaccessfile by going to Settings > Permalinks and clicking “Save Changes.” Increase PHP memory limit if needed (by editingwp-config.php). - Mixed Content Errors (SSL Issues): This occurs when your site loads over HTTPS, but some content (images, scripts, CSS) is still being loaded over HTTP.
- Troubleshooting: Use a plugin like “Really Simple SSL” to help fix mixed content. Alternatively, manually update all HTTP URLs to HTTPS in your database, or ensure your theme and plugins are configured to use HTTPS.
- Admin Area Inaccessible:
- Troubleshooting: This could be due to a broken plugin or theme. Try the solutions mentioned for the White Screen of Death. Check for any redirect loops.
Seeking Help When Needed
- Hosting Provider Support: Your new host’s support team is your first point of contact for server-related issues.
- WordPress Forums and Communities: The WordPress community is vast and helpful. Search forums for similar issues or post your problem.
- Plugin/Theme Developer Support: If a specific plugin or theme is causing problems, reach out to its developer for support.
- Professional Help: If you’ve tried everything and are still stuck, consider hiring a WordPress developer or a migration specialist.
By approaching your WordPress site migration with careful preparation, a systematic process, thorough post-migration checks, and a plan for troubleshooting, you can confidently move your valuable online asset to new hosting without unnecessary stress or data loss. Treat each step with the attention it deserves, and you’ll emerge with a faster, more secure, and better-performing website.
FAQs
1. What is the importance of migrating WordPress sites to new hosting safely?
Migrating WordPress sites to new hosting safely is important to ensure that the website remains functional and accessible during and after the migration process. It helps in preventing data loss, downtime, and potential damage to the website’s SEO rankings.
2. What are the steps involved in migrating WordPress sites to new hosting safely?
The steps involved in migrating WordPress sites to new hosting safely include backing up the website, exporting the database, transferring files to the new hosting, importing the database, updating the site URL, and testing the website on the new hosting before making it live.
3. What are the common challenges faced during the migration process?
Common challenges faced during the migration process include potential data loss, website downtime, broken links, and issues with the website’s functionality. It is important to address these challenges proactively to ensure a smooth migration.
4. How can one ensure the safety of the website during the migration process?
To ensure the safety of the website during the migration process, it is important to perform a thorough backup of the website, test the migration on a staging environment, use secure file transfer methods, and double-check the website’s functionality after the migration.
5. Are there any tools or plugins available to assist with the migration process?
Yes, there are several tools and plugins available to assist with the migration process, such as All-in-One WP Migration, Duplicator, and WP Migrate DB. These tools can simplify the migration process and help ensure the safety of the website during the transition to new hosting.


Add comment